So... I'm a pretty big fan of baking - especially when I can bake and bring it into work for my coworkers, so that I don't end up eating the entire batch of whatever I make. And I think my coworkers enjoy it too ;) I'm back on
Battle of the Blades again this year, so there are plenty of mouths to feed with treats.
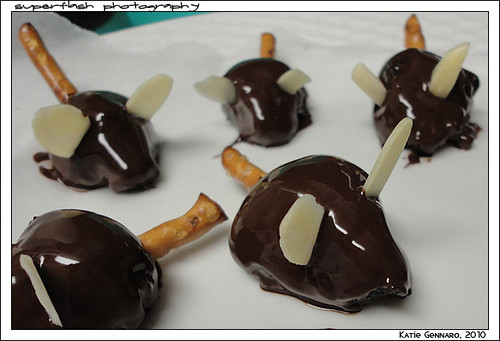
This past Saturday was my birthday, and on Blades, we work through the weekend (Saturday is rehearsal day, Sunday and Monday are show days). I got home early on Friday night, so I decided to whip up a batch of my favourite, and the easiest truffles ever - from the amazing
Bakerella website. I had tried these before, dipped in white chocolate, but I found them too sweet. So this time, I dipped the truffles in bittersweet chocolate, and I thought they were perfect.
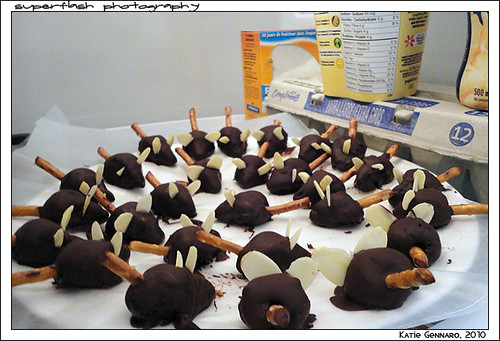
I wanted to make them a little more special, with a bit of character... so I decided to give them a mouse shape. They have almond ears, and pretzel tails.
I think they're pretty darn cute. And I got so many compliments on them throughout the day. I think I made a little more than 50 of them, and they were completely devoured. Here's the first batch, chilling in the fridge overnight.
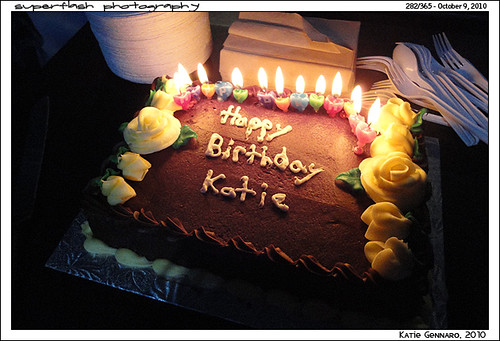
There were further birthday treats for me, when my awesome coworkers surprised me with a cake, (and singing!) in the studio by the rink. I'm not really someone who's easily surprised (I can usually tell when someone is prepping something like this!), so this was definitely one of the best birthday surprises I've ever received.
So, I have Tuesday off from work, since I work through the entire weekend, and even though it was a full 3 days after my birthday, I couldn't let it go by without a party with my friends. And, I don't know if this makes me really weird or not, but I decided that I had to bake my own cake. And further to that, it had to be a super awesome cake. I decided I had to make myself a castle. Haha!
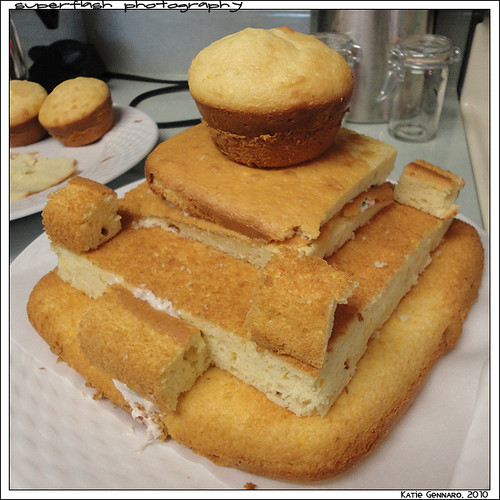
Now, keep in mind, I am FAR from a professional baker, and this is my very first layer cake ever... but this is how I did it. First, I baked. I decided on vanilla cake, and I made two 8-inch square pans, plus four cupcakes. I had originally wanted the cupcakes to be the four pillars on each side of the castle, but I thought they looked too big, after I assembled everything.
- The bottom layer of the cake is just as is. (I didn't even level it off, because the only serving dish I had was a plate, and I thought turning the cake upside down and letting the dome sit in the curved area of the cake would make it sit a little better)
- The second layer, I levelled and cut about a half inch off each end.
- The third layer is actually the part that I levelled, cut into quarters and stacked.
- And the top layer is one of the cupcakes.
- For the pillars and door entrance, I used some of the scraps from the second layer.
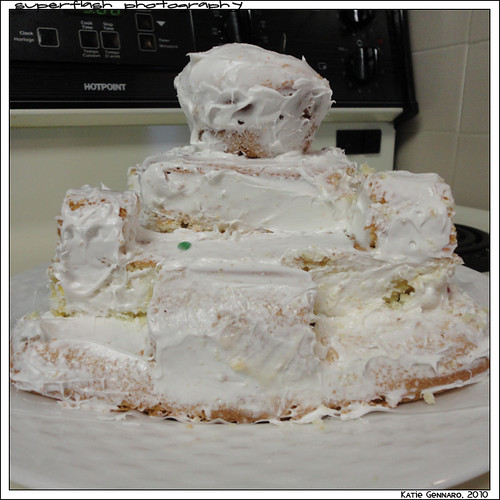
After assembling all the pieces together, I "glued" them with rainbow-chip frosting and put the cake in the fridge to set a bit. After about an hour in the fridge, I created a "crumb" layer of vanilla frosting. It's a thin layer to help seal in all the crumbs that you might get from frosting the cake after it's been cut like this. And it made me realize how difficult it is to frost around "pillars" ... man this was hard! So after I finished this layer of frosting, I put it in the fridge to set again.
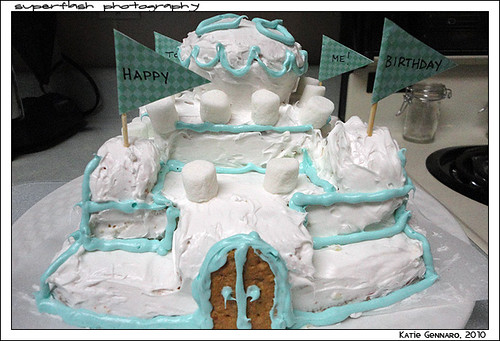
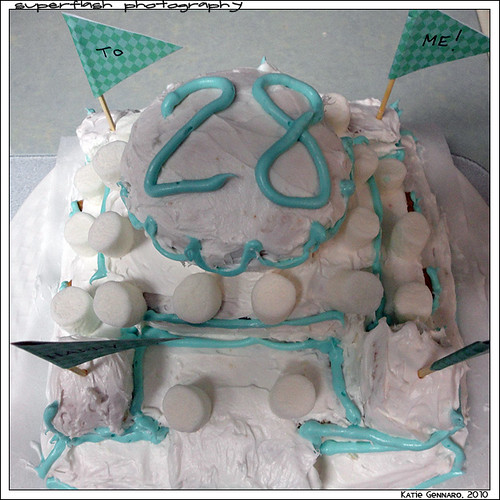
The next part was my favourite. The final layer of frosting, and then piping on some details! I used the same frosting as the crumb layer, and for the piped bit, I just added some food colouring. I was originally going to do pink, but at the last minute, I decided to do turquoise, to match my apartment! (Yes, I am that much of a geek) The windows and doors are made of graham crackers, and the little posts are marshmallows. Here's a look at how the cake turned out:
Again, not a pro baker here... it may not be the fanciest cake... but it was delicious, and my friends loved it, so that's all that matters, right?! :)

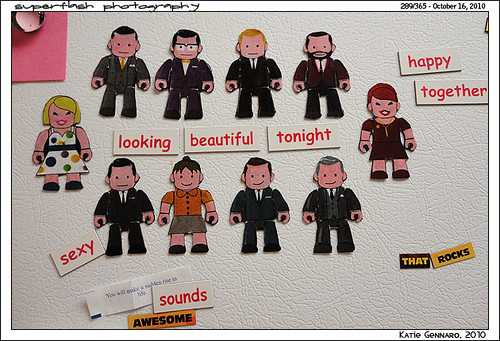
 I also have an obsession with fridge magnets. I think it has something to do with the fact that we never had magnets on our fridge when I was a kid. Anyway, I digress.